Agency Specialties
Agency Specialties represent the unique skills, qualifications, or operational roles within your organization. Examples include EMT, Rope Rescue Technician, K9 Handler, or Team Leader.
Specialties are powerful because they:
- Link to certification requirements (members must have specific certifications)
- Can auto-assign when members earn qualifying certifications
- Help organize your team by capabilities
- Improve readiness reporting
Agency Specialties require a Team or Organization subscription plan.
Before creating specialties, you must first create Certification Templates. Specialties require at least one certification to be activated.
Understanding Specialties
What Makes Specialties Different
| Feature | Positions | Specialties |
|---|---|---|
| Based on | Organizational role | Certifications held |
| Requirements | None | Must have specific certifications |
| Auto-assignment | No | Yes (optional) |
| Examples | Team Leader, Safety Officer | EMT, SARTECH II, K9 Handler |
Use Positions for organizational structure ("who reports to whom"). Use Specialties for qualifications ("who is certified to do what").
How Specialties Work
- Create a specialty with a name and description
- Add certification requirements (the certifications needed to qualify)
- Activate the specialty (requires at least one certification)
- Members qualify when they hold all required certifications
- Assignment happens automatically or manually based on your settings
Accessing Specialties
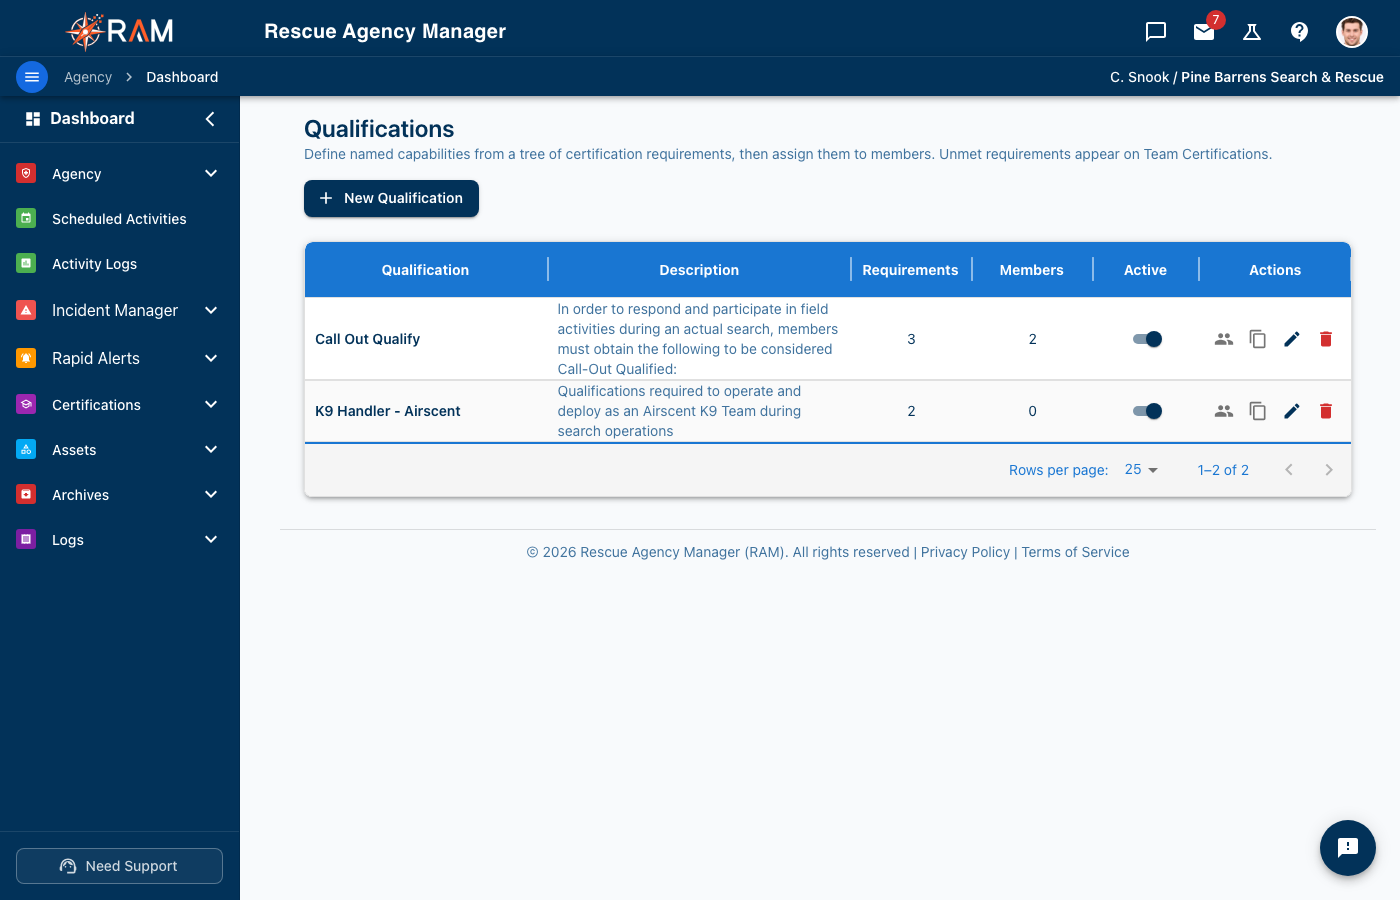
- Navigate to Agency Settings in the left menu
- Select the Agency Specialties tab
Required Permissions: Administrator
Creating a Specialty
Step 1: Open the Form
Click Add Specialty in the upper right corner.
Step 2: Enter Basic Information
| Field | Required | Description |
|---|---|---|
| Specialty Name | Yes | What members see (e.g., "K9 Handler", "Rope Rescue Tech") |
| Description | No | Explain what this specialty involves |
Step 3: Configure Auto-Assignment
Toggle Auto Manage Assignments:
| Setting | Behavior |
|---|---|
| ON (default) | Members are automatically assigned this specialty when they hold all required certifications. Assignments are locked — members cannot opt out. |
| OFF | Administrators must manually assign this specialty to members, even if they qualify. |
- Enable for certifications that clearly define a role (EMT, Paramedic)
- Disable for specialties that require additional approval beyond certifications
Step 4: Add Certification Requirements
This is where you define what certifications a member needs to qualify for this specialty.
Understanding Requirement Groups
RAM uses a powerful AND/OR logic system for requirements:
Group 0 (Required — AND logic)
- All certifications in Group 0 are required
- Member must hold every single one
- Displayed with solid blue chips
Group 1+ (Alternative Groups — OR logic)
- Member needs at least ONE certification from each alternative group
- Multiple groups are combined with AND
- Displayed with dashed borders
Example: K9 Handler Specialty
Requirements:
- CPR (Group 0 — Required)
- First Aid (Group 0 — Required)
- K9 SAR Certification OR K9 Tracking Certification (Group 1 — Either one)
Logic: Member must have CPR AND First Aid AND (K9 SAR OR K9 Tracking)
Adding Requirements
- Click in the Certificate Requirements area
- Select certifications from the dropdown
- For required certifications: they go in Group 0 (AND)
- For alternatives: create Group 1+ to allow OR logic
- You can add multiple alternative groups
Step 5: Activate the Specialty
Toggle Active Specialty to ON.
You cannot activate a specialty without at least one certification requirement. If you try, you'll see: "A specialty must have at least one certification requirement before it can be activated."
Step 6: Save
Click Create to save the new specialty.
Specialty Examples
Emergency Medical
| Specialty | Requirements (Group 0) | Alternative (Group 1) |
|---|---|---|
| EMT | EMT-Basic Certification | — |
| Paramedic | Paramedic Certification, ACLS | — |
| Medical Officer | CPR, First Aid | EMT-B OR Paramedic |
Search & Rescue
| Specialty | Requirements (Group 0) | Alternative (Group 1) |
|---|---|---|
| Ground Searcher | SARTECH I, Wilderness First Aid | — |
| Technical Searcher | SARTECH II, Map & Compass | — |
| K9 Handler | K9 Handler Certification, First Aid | SAR Dog Cert OR Tracking Cert |
Technical Rescue
| Specialty | Requirements (Group 0) | Alternative (Group 1) |
|---|---|---|
| Rope Technician | Rope Rescue Operations, First Aid | — |
| Swift Water Tech | Swift Water Rescue, CPR | — |
| Confined Space | Confined Space Ops, HAZWOPER | — |
Fire/EMS
| Specialty | Requirements (Group 0) | Alternative (Group 1) |
|---|---|---|
| Firefighter | Firefighter I, CPR, HAZMAT Awareness | — |
| Driver/Operator | Driver Training, EVOC | Pump Ops OR Aerial Ops |
| Fire Instructor | Firefighter II, Instructor I | — |
Editing Specialties
- Find the specialty in the list
- Click the edit icon (pencil)
- Modify fields as needed
- Click Update
What You Can Change
| Field | Editable | Notes |
|---|---|---|
| Name | Custom specialties only | System defaults are locked |
| Description | Custom specialties only | System defaults are locked |
| Auto Manage | Yes | Applies going forward |
| Requirements | Yes | Changes affect future eligibility |
| Active Status | Yes | Can activate/deactivate anytime |
System Default Specialties
Some specialties may come pre-configured (system defaults). For these:
- Name and description are locked
- You can still modify auto-manage and requirements
- They're marked with a "System Default" badge
Activating and Deactivating
To Activate
- Ensure at least one certification requirement is assigned
- Toggle Active Specialty to ON
- Save
Result: Specialty appears in assignment dropdowns and eligibility checks.
To Deactivate
- Edit the specialty
- Toggle Active Specialty to OFF
- Save
Result:
- Hidden from new assignments
- Existing member assignments are preserved
- Can be reactivated later
Deactivate instead of delete when you want to preserve history.
Assigning Specialties to Members
Specialties are assigned on the team member's profile.
How Assignment Works
- Go to Team Roster
- Click on a member to edit
- Navigate to the Member Info tab
- Find the Specialties section
You'll see two areas:
Manually Assign Specialty
- Dropdown showing specialties with Auto Manage OFF
- Only shows specialties the member is eligible for
- Select multiple if needed
- You control the assignment
Auto-Assigned Specialties
- Read-only display of specialties with Auto Manage ON
- Shows which auto-managed specialties the member qualifies for
- Cannot be manually changed — based purely on certifications
- Updates automatically when certifications change
Eligibility
A member is eligible for a specialty when they hold all required certifications:
- All Group 0 (AND) certifications
- At least one from each Group 1+ (OR) group
- Certifications must be current (not expired)
If a member doesn't qualify, the specialty won't appear in their dropdown.
Auto-Assignment in Action
When Auto Manage is enabled:
- Member earns a certification
- System checks if they now qualify for any auto-managed specialties
- If they qualify, specialty is automatically assigned
- Assignment shows as "Auto-Assigned" on their profile
When certifications expire:
- System detects expired certification
- Checks if member still qualifies
- If not, auto-managed specialty is automatically removed
- Manual assignments remain (admin must remove manually)
Deleting Specialties
When You Can Delete
- No members currently assigned
- Not a system default specialty
When You Cannot Delete
- One or more members have this specialty assigned
- It's a system default (seeded) specialty
Solution: Deactivate instead of delete to preserve data integrity.
How to Delete
- Click the delete icon (trash can)
- Confirm the deletion
If deletion is blocked, a message will explain why and suggest deactivating instead.
Best Practices
Naming
| Do | Don't |
|---|---|
| "K9 Handler" | "K9" (too vague) |
| "Rope Rescue Technician" | "Rope Tech" (inconsistent) |
| "EMT-Basic" | "EMT" (be specific about level) |
Requirements
- Start minimal — Add only must-have certifications
- Use OR groups wisely — When multiple certifications qualify someone
- Consider expiration — Auto-assignment removes when certs expire
- Test eligibility — Create a test member to verify requirements work
Auto-Manage Decisions
| Enable Auto-Manage When | Disable Auto-Manage When |
|---|---|
| Certification = Qualification | Additional vetting needed |
| Clear-cut eligibility | Leadership approval required |
| Want automatic tracking | Want manual control |
Organization
- Create a plan first — List specialties before creating them
- Group logically — Medical, Technical, Leadership, etc.
- Keep it focused — Only create specialties you'll actually use
- Review regularly — Deactivate unused specialties
Troubleshooting
"Cannot activate specialty"
You're missing certification requirements. Add at least one certification template to the requirements before activating.
"Specialty not showing in assignment dropdown"
Check that:
- Specialty is Active
- Member is eligible (holds required certifications)
- For manual assignment: Auto Manage is OFF
- Certifications are not expired
"Member should qualify but doesn't"
Verify:
- Member has ALL Group 0 certifications
- Member has at least ONE from each Group 1+ group
- All certifications are current (not expired)
- Certifications match the exact templates in requirements
"Cannot delete specialty"
The specialty is either:
- Assigned to one or more members (deactivate instead)
- A system default specialty (cannot be deleted)
Related Documentation
- Record & Certification Templates — Create the certifications that specialties require
- Team Management — Assign specialties to members
- Positions & Ranks — Organizational structure (different from specialties)
- Agency Getting Started — Setup order overview